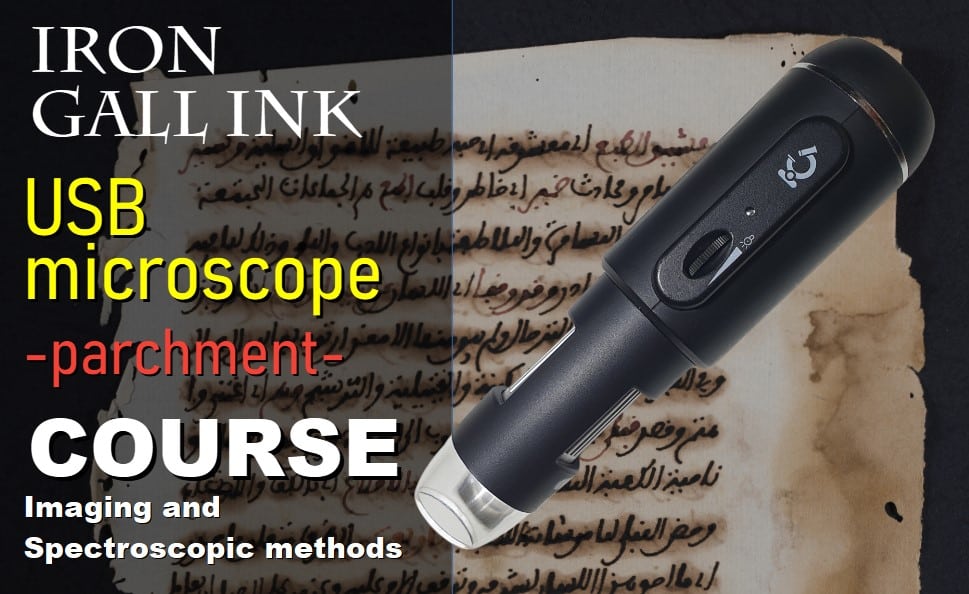
Raking light with the magnification of a cheap USB microscope is a simple yet highly effective method for examining the texture of parchment, helping to distinguish between the flesh side and the hair side.
In this video, we show how to add an external raking light to your USB microscope to effectively increase the quality of your USB microscope images.
In parchment, the flesh side and the hair side are the two distinct surfaces created during the process of preparing animal skin for writing or artwork:
Flesh Side:
This is the inner surface of the animal’s skin, which was closest to the flesh. It is typically smoother, softer, and lighter in color because it underwent more scraping and refinement during production.
This side was often preferred for writing because of its smooth texture.
Hair Side:
This is the outer surface of the skin where the animal’s hair or fur originally grew. It tends to be rougher and may show small bumps or markings where hair follicles were. This side can appear darker and more textured compared to the flesh side.
In many cases, the distinction is subtle, but experts look for tell-tale textures and colors to differentiate between the two.
To distinguish the hair side from the flesh side of a parchment:
Hair Side:
The hair side typically shows a more uneven texture and may have hair follicle markings. These are small pits or bumps where hair used to grow.
The surface is often slightly rougher compared to the flesh side.
It may also appear darker or have a more yellowish tone depending on the treatment.
Flesh Side:
The flesh side tends to be smoother and more uniform because it’s the side where the skin adhered to the flesh.
It usually has a lighter color and a more polished or refined appearance.
This side was traditionally worked on more to make it smooth and flat.


