Tips and Tricks

Welcome to the Tips and Tricks section of the Technical Photography course from Cultural Heritage Science Open Source. This lesson offers practical guidance to improve your technical imaging workflow, focusing on real-world challenges such as squaring up photos of paintings with precision. You’ll learn methods for aligning, correcting perspective, and enhancing accuracy in your documentation — essential skills for technical photography in art and cultural heritage contexts. These insights build on core techniques introduced earlier in the course and help you achieve consistent, high-quality results with your technical images.

Squaring up technical photos of paintings

Taking a square-up photo of a painting can be challenging due to several factors. First, the camera must be precisely aligned with the painting to avoid distortion and ensure that all angles are square. This alignment requires careful positioning of both the camera and the artwork, often involving the use of tripods, spirit levels, and measuring tools. Overall, taking a square-up photo of a painting requires patience, precision, and a methodical approach to achieve a high-quality, accurate representation of the artwork. When you are back in the studio and you realize your images are not straight, yes, there are methods to square up a set of images, which involve correcting the perspective and alignment of photographs to make them appear square and straight. This process is important for ensuring the accuracy and consistency of images, particularly for artworks, architectural photographs, or any other subject where precise geometry is desired. This video shows how to square up technical photos using GIMP.


Rawtherapee, how to switch to RGB values


Panoramic Technical Photography Documentation for Large Paintings

Technical photography documentation of large paintings can be effectively achieved using the panoramic method. For straightforward techniques like visible and raking light photography, the process is relatively simple. However, methods such as Ultraviolet Fluorescence and Infrared Fluorescence require special attention due to the necessity for long exposure times. Careful planning and execution are essential to ensure high-quality results in these more complex imaging techniques.


CHSOS: Our Journey in Advancing Technical Art Examination Equipment

This video showcases our equipment from the early days of CHSOS. Back then, we didn’t have a proper Pigments Checker or a set of Technical Photography filters with magnetic adapters. We’ve come a long way in making technical art examination easier with the Technical Photography KIT 🙂
Technical Photography KIT
https://chsopensource.org/chsos-technical-photography-kit/
Robertina – Technical Photography Filters set
https://chsopensource.org/technical-photography-filters-set/
Pigments Checker
https://chsopensource.org/pigments-checker/


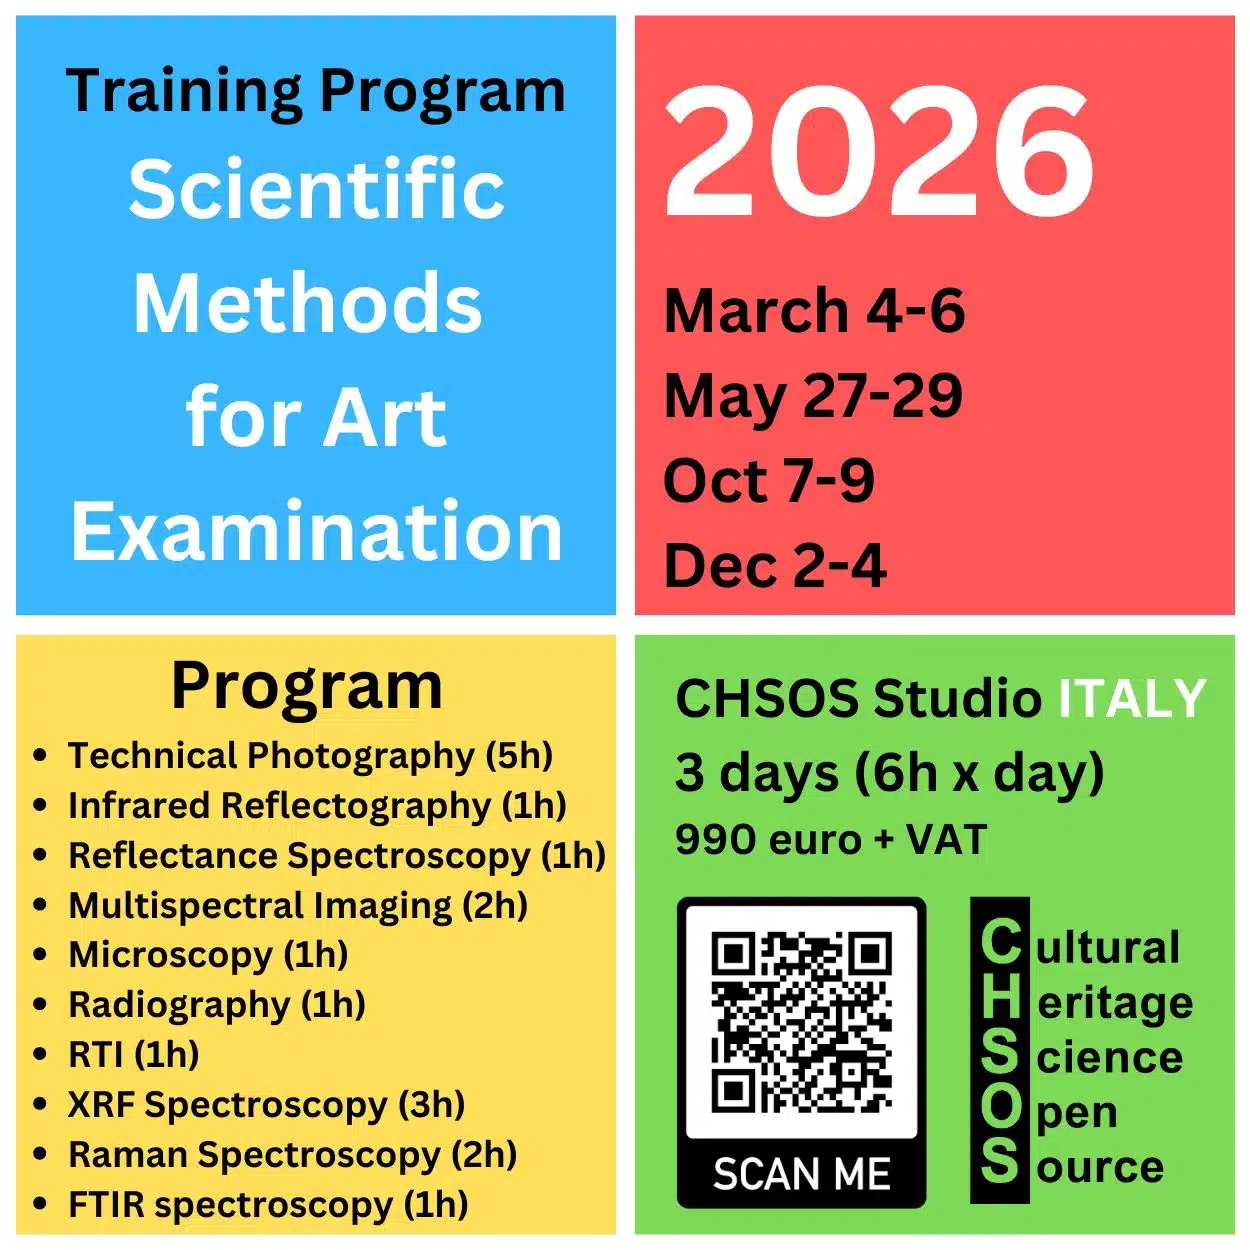
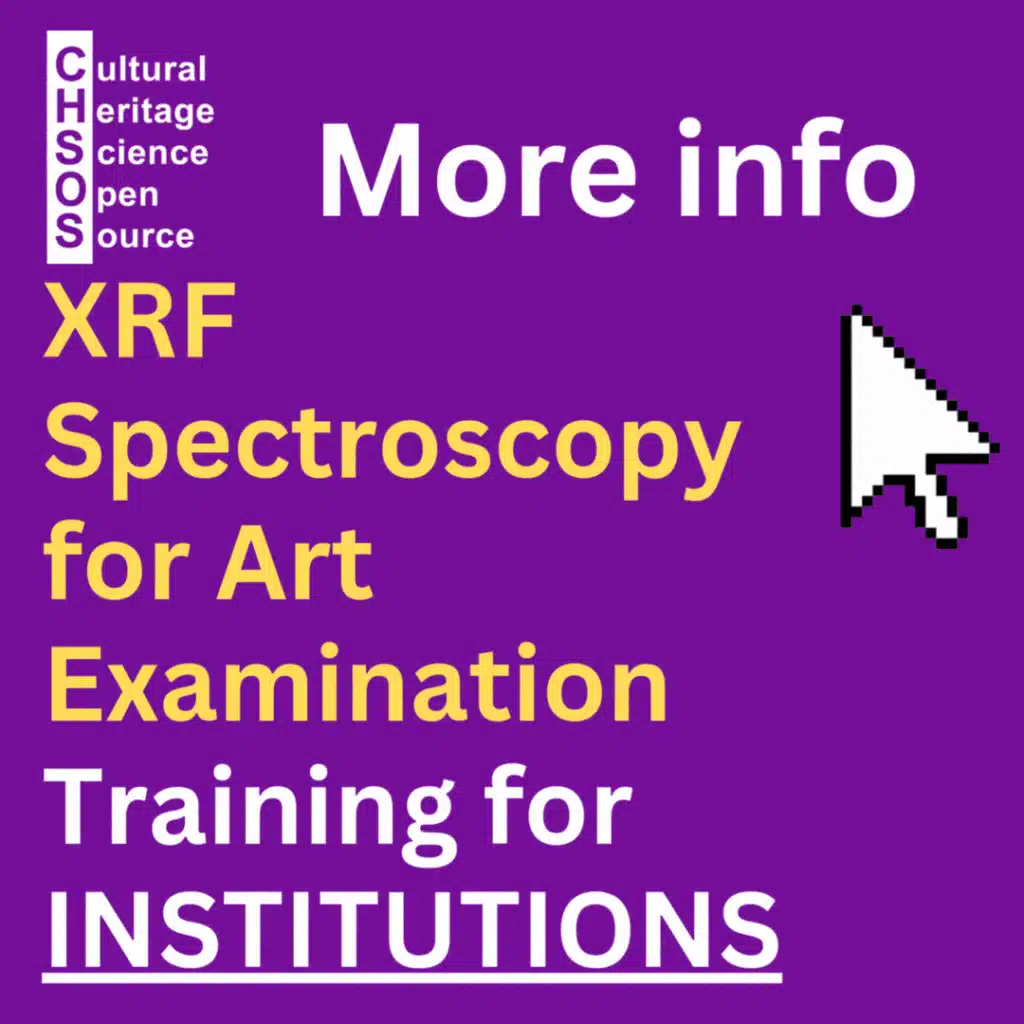
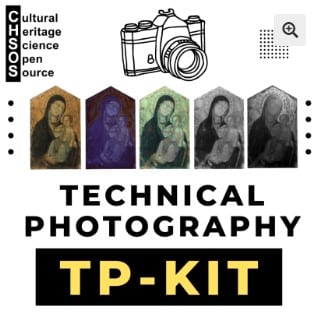
Learn Technical Photography for Art Examination

Technical Photography is one of the most powerful—and often overlooked—tools for the scientific examination of art and archaeology. If you are a conservator, scientist, or art collector and you are not yet familiar with this method, it is truly a missed opportunity. Using simple, affordable equipment and a clear methodology, Technical Photography allows you to reveal underdrawings, retouchings, material differences, and conservation issues in a completely non-invasive way. Far from being complex or inaccessible, it is an easy entry point into scientific analysis. In many cases, Technical Photography represents the first essential step toward a deeper understanding of artworks and archaeological objects.


Training 2026

Scientific Art Examination – Resources:
Getty Conservation Institute (GCI) – USA
The British Museum – Scientific Research Department – UK
Scientific Research Department – The Metropolitan Museum of Art, New York, USA
C2RMF (Centre de Recherche et de Restauration des Musées de France) – France
Rijksmuseum – Science Department – Netherlands