Last week I was in Florence visiting my friends at Editech. This is the first established Italian company working on art diagnostics. They had an awesome office space 5 minutes from the famous city’s location “ponte vecchio.” Now they just moved to a – yet better place! an historical building facing Arno river, just 1 minute from ponte vecchio. So impressive and classy.
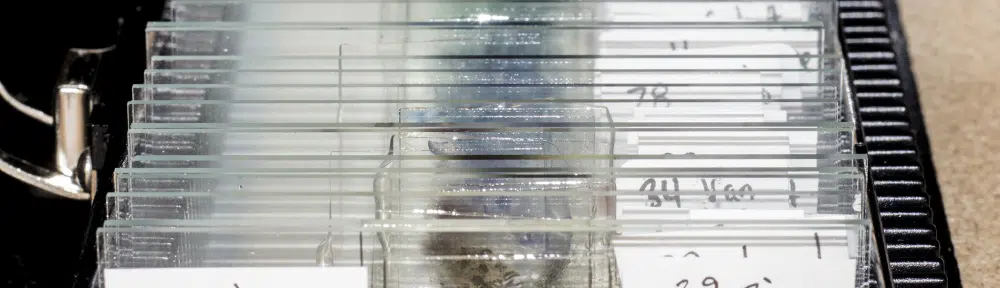
Well, today, coming back from holidays, I want just post on how to make slide mounts to observe tiny pigments’ particles coming from a painting’s sample. In this earlier post you learned how to take samples and make cross-section. Using a tungsten needle (this is among the thinnest needle you can buy) – I found affordable ones here – you can scratch tiny particles of pigments from the paint – under a stereo microscope – and put them onto a microscopy slide to be mounted with Cargille labs “meltmount” resin.
This video shows how to make slide mounts using Cargille labs “meltmount” resin. A good reading on preparing slide mount is [1].
In this post I introduced you to the basic of polarizing microscopy and how to identify pigments using the slide mounts you just learned how to prepare. Enjoy!
My Historical Pigments microscopy slide mounts collection prepared with Cargile meltmount.
[1] W. C McCrone (1982) “The Microscopical Identification of Artists’ Pigments” Journal of the International Institute for Conservation—Canadian Group 7 (1–2):11–34.