
 We do run a lot of initiatives, Stay on top of things!
I noticed that I’m focusing this blog too much on technical and geeky stuff on how the scientific tools work rather than telling why we actually use the different imaging methods. So, this post explains why we use Infrared False Color with some examples and I give the procedure to make it with Photoshop CS6.
Why Infrared False Color (IRFC) in Art Examination
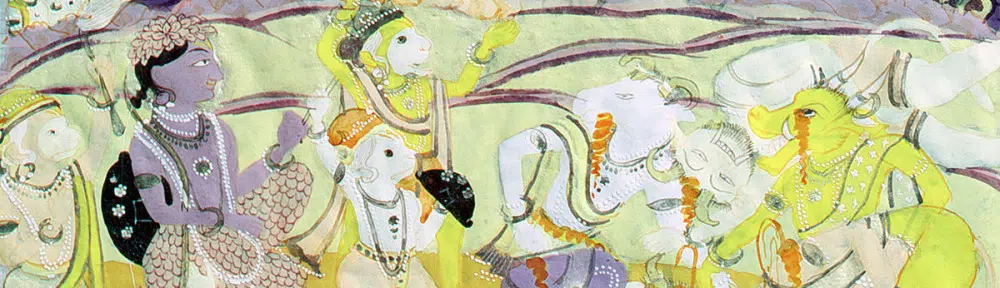
Infrared False Color (IRFC) it’s widely used in art examination for, essentially, two tasks: identify pigments [1, 2] and distinguish between iron gall ink and carbon-based ink [3]. In particular, in European art, infrared false color has been used to quickly distinguish the two most common blue pigments, azurite and super expensive ultramarine, in old masters paintings [4]. Indeed, while ultramarine has a characteristic “red” infrared false color, azurite turns into a purplish blue false color. Below are some IRFC examples that I shot for the Ingels Collection in Sweden.


Italian Manuscript. Ingels Collection, Sweden. Iron-Gall ink has a typical red infrared false color. The blue capital “A” is probably ultramarine since shows red infrared false color.
How to make Infrared False Color
The Infrared False Color Kodak Ektachrome Infrared film was originally developed for military purposes to distinguish camouflage from vegetation. Today we can reproduce the same imaging method doing some Photoshop editing. Take a VIS image and an IR image of the same subject. Load them on two layers into a Photoshop document. Select the VIS layer and copy and paste the Green channel into the Blue channel. Now copy and paste the Red channel into the Green channel. Now copy any channel of the IR image and paste it into the Red channel in the VIS Image. Don’t worry, I made a video.
In order to paste the infrared image into the red channel of the visible image the two images – VIS and IR – must be “registered”. This is a technical term which means that the two images must overlap as better as possible. The problem arises since after you shoot a VIS picture, in order to shoot a sharp IR image you have to check focus again. Visible and IR light are not focused at the same distance inside the camera. Therefore, when you compare the two images, they do not overlap. This is not a big issue since using Photoshop you can scale the IR image so that it fits on the VIS image. In order to make this process more quick and effortless I use to put 4 targets on the corners of the picture I’m taking. This targets (just 2 crossed lines) must be made with a carbon-based ink otherwise they become transparent in the IR image and therefore useless.
Notes:
Once you are done always check the AIC color Target or any color checker you use to be sure you always have the same colors switch in the AIC standards (check out you didn’t mess with channels switching).
In the video I don’t use any keywords command (such as ctrl +c for copy and ctrl + v for paste) just for clarity. You are encouraged to use them to speed up your work.
In this post I give exposure values for both the VIS and IR images in order to have a standardized IRFC.
References
[1] T. Moon, M. R. Schilling, S. Thirkettle “A Note on the Use of False-Color Infrared Photography in Conservation” Studies in Conservation, Vol. 37, No. 1 (Feb., 1992), pp. 42-52.
[2] E. Isacco and J. Darrah “The Ultraviolet-Infrared Method of Analysis, a Scientific Approach to the Study of Indian Miniatures” Artibus Asiae, Vol. 53, No. 3/4 (1993), pp. 470-491.
[3] J. Havermans H.A. Aziz, H. Scholten “Non Destructive Detection of Iron-Gall inks by means of Multispectral Imaging” Restaurator, 24 (2003) pp. 88-94.
[4] C. Hoeniger “The identification of blue pigments in early Sienese paintings by color infrared photography” Journal of American institute of Conservation (1991), Volume 30, Number 2, Article 1 (pp. 115 to 124).


awesome
You are doing an excellent job!
My best regards
Dimitris Tsipotas
Conservator
Dimitris, thanks!
You could rearrange the channels more easily using split/combine channels (if the documents are the same size), or at least use channel mixer for the first two.
The appearance of the different pigments will be highly dependent on the wavelengths captured – which will vary with different IR capture methods. For instance, I have 3 digital cameras modified for IR capture – and all have very different IR sensitivities, and thus different appearance and different correlations for pigment types.
It is great that you considered the registration problem (by adding corner targets) – most people don’t think about the fact that their camera lenses focus IR and UV quite differently from visible light.
Hi Chris, thanks a lot for your comments. I wasn’t experimenting with color mixer for a long time, so I took the opportunity to give it a test, yep, you actually have often more than one way to do things in Photoshop!
Sure, the resulting IRFC depends on the camera and on the IR filter. I’m trying to standardize it a bit but overall I’m not concerned about it. I think IRFC as the other imaging methods are qualitative and should remain such. and then even if we try a perfect system to make IRFC, we know that pigments are mixed all together by painters and overlapped, so these imaging methods must be used only for preliminary examination, not to actual pigments identification.
Great demo, thanks. I understood the photoshop process ok, however it would be very helpful if you could explain a bit more why it actually works the way it does, not just how to practically create the IRFC
Thanks again.
This is interesting, but can you share copies of the images for comparison? I am interested in this method for turning color photo micrographs to false IR.
Hi (Mr/Mrs ???), I’m always happy to help. What you need exactly? Want call me on skype?
Salve
Ho trovato molto interessante questa spiegazione per poter ottenere la mia img in IRFC.
Avrei alcune domande riguardanti le tabelle dei comuni falsi colori associabili ai pigmenti blu di opere d’arte (sopratutto antichi).
Nel sito avevo intravisto dei Color Checker di riferimento.
Sto lavorando ad un’opera e stavo cercando di avanzare delle ipotesi sulla natura delle stesure e sulla loro originalità.
Grazie ancora
Ciao Sara,
https://chsopensource.org/imaging-methods-pigments-checker-standard/
qui puoi vedere le fotografie tecniche e il IRFC, puoi anche scaricare le foto. saluti